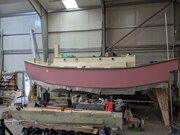
Before coming back to the overall progress, I thought that it would be a good idea to write a bit more about the keel. I think the way I built it is somewhat unique. Not that someone somewhere didn’t built a keel a similar way before, but I didn’t read about it so it’s hopefully helpful to someone in the future.
I don’t like the idea of having mild steel under the water line. I wanted to use epoxy and glass fibre encapsulated lead. A professional cast iron or lead keel would be OK too, but don’t fit with my DIY requirements and budget.
So, as I had written in a older post, I built a positive mould out of plywood and laminated over it months ago. I used the topside of this mould as a template to drill the holes for the keel bolts while the hull was still upside down.
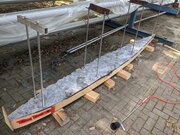
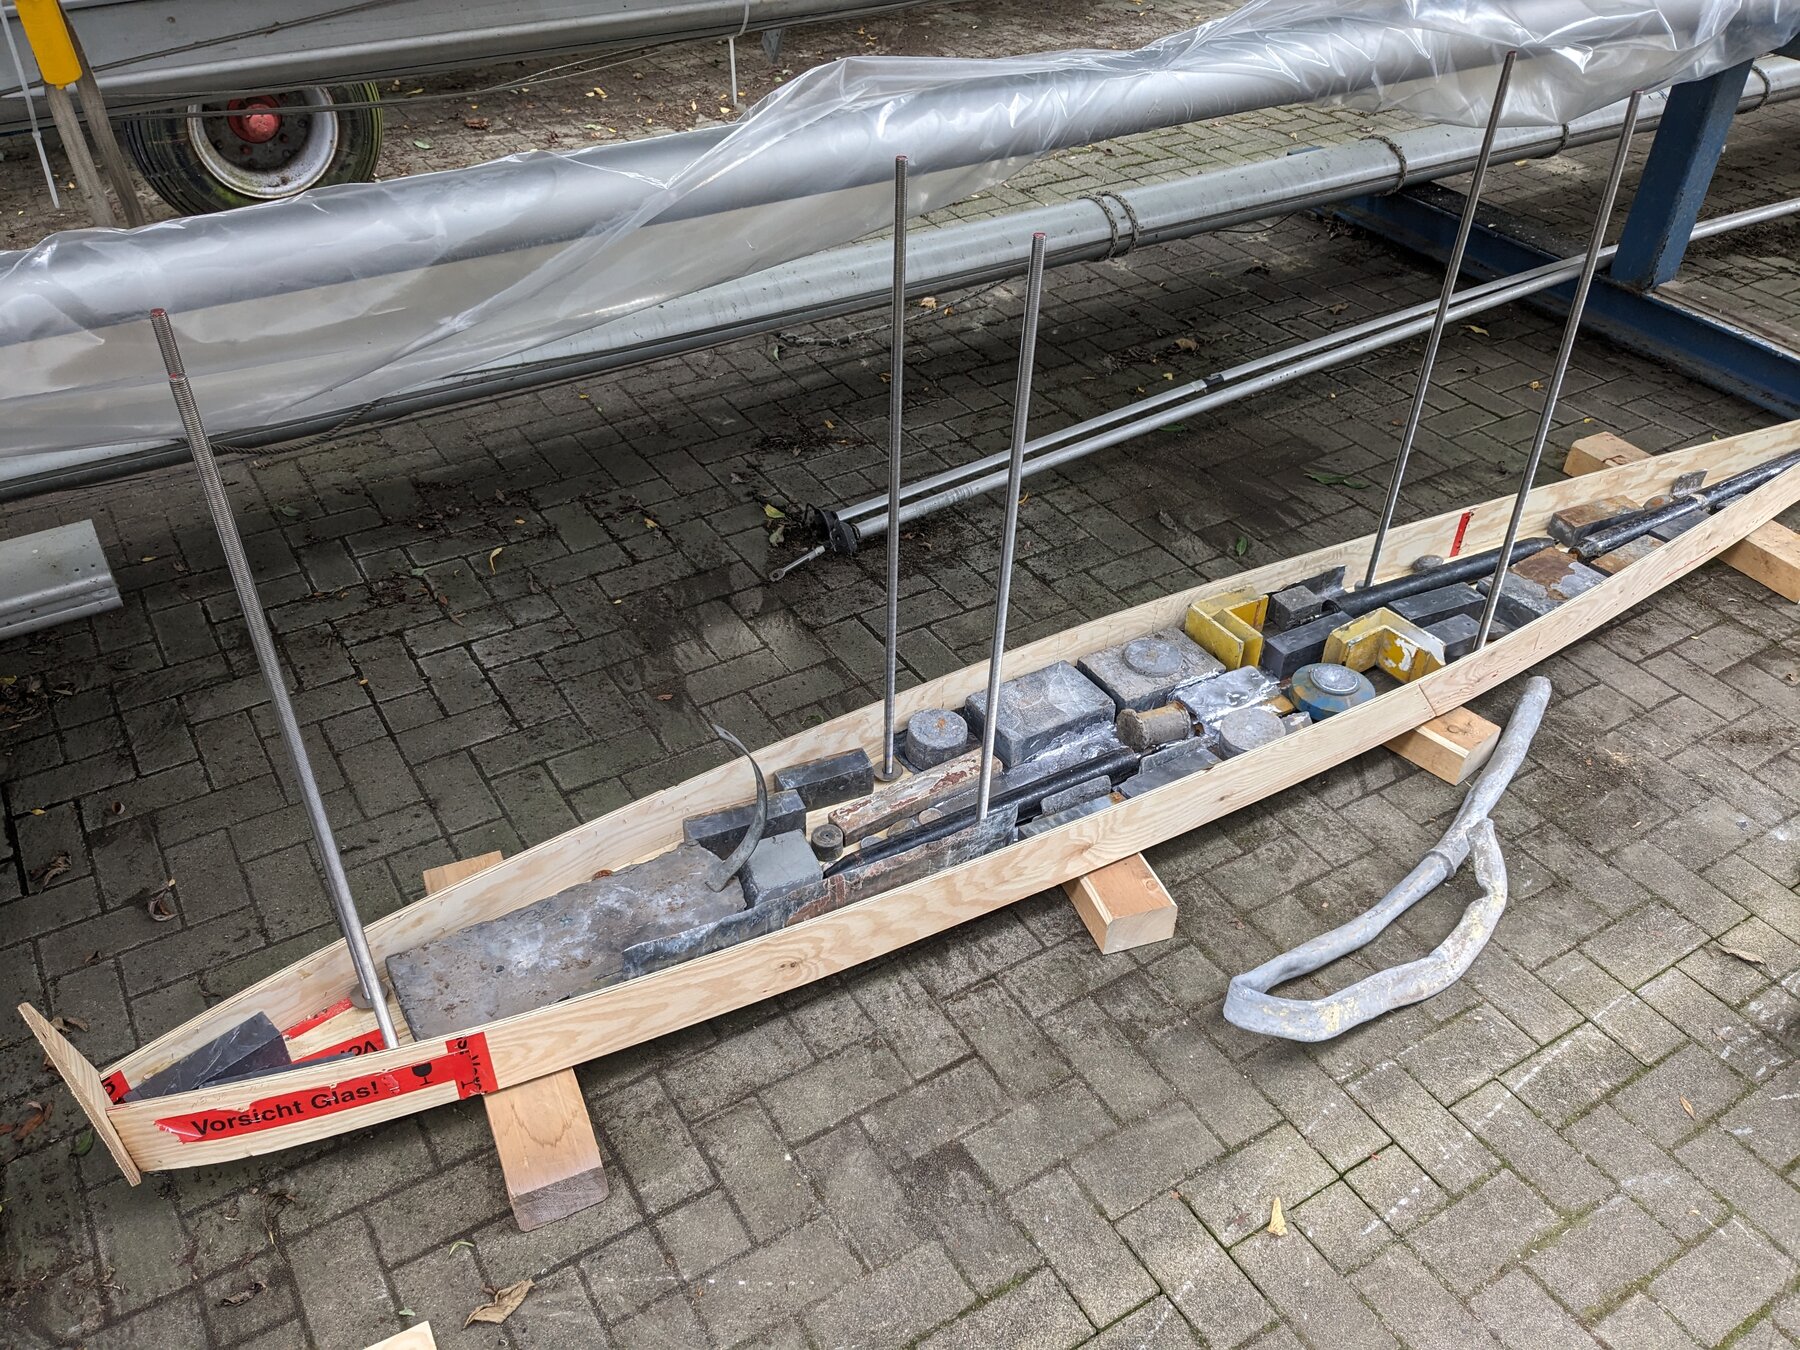
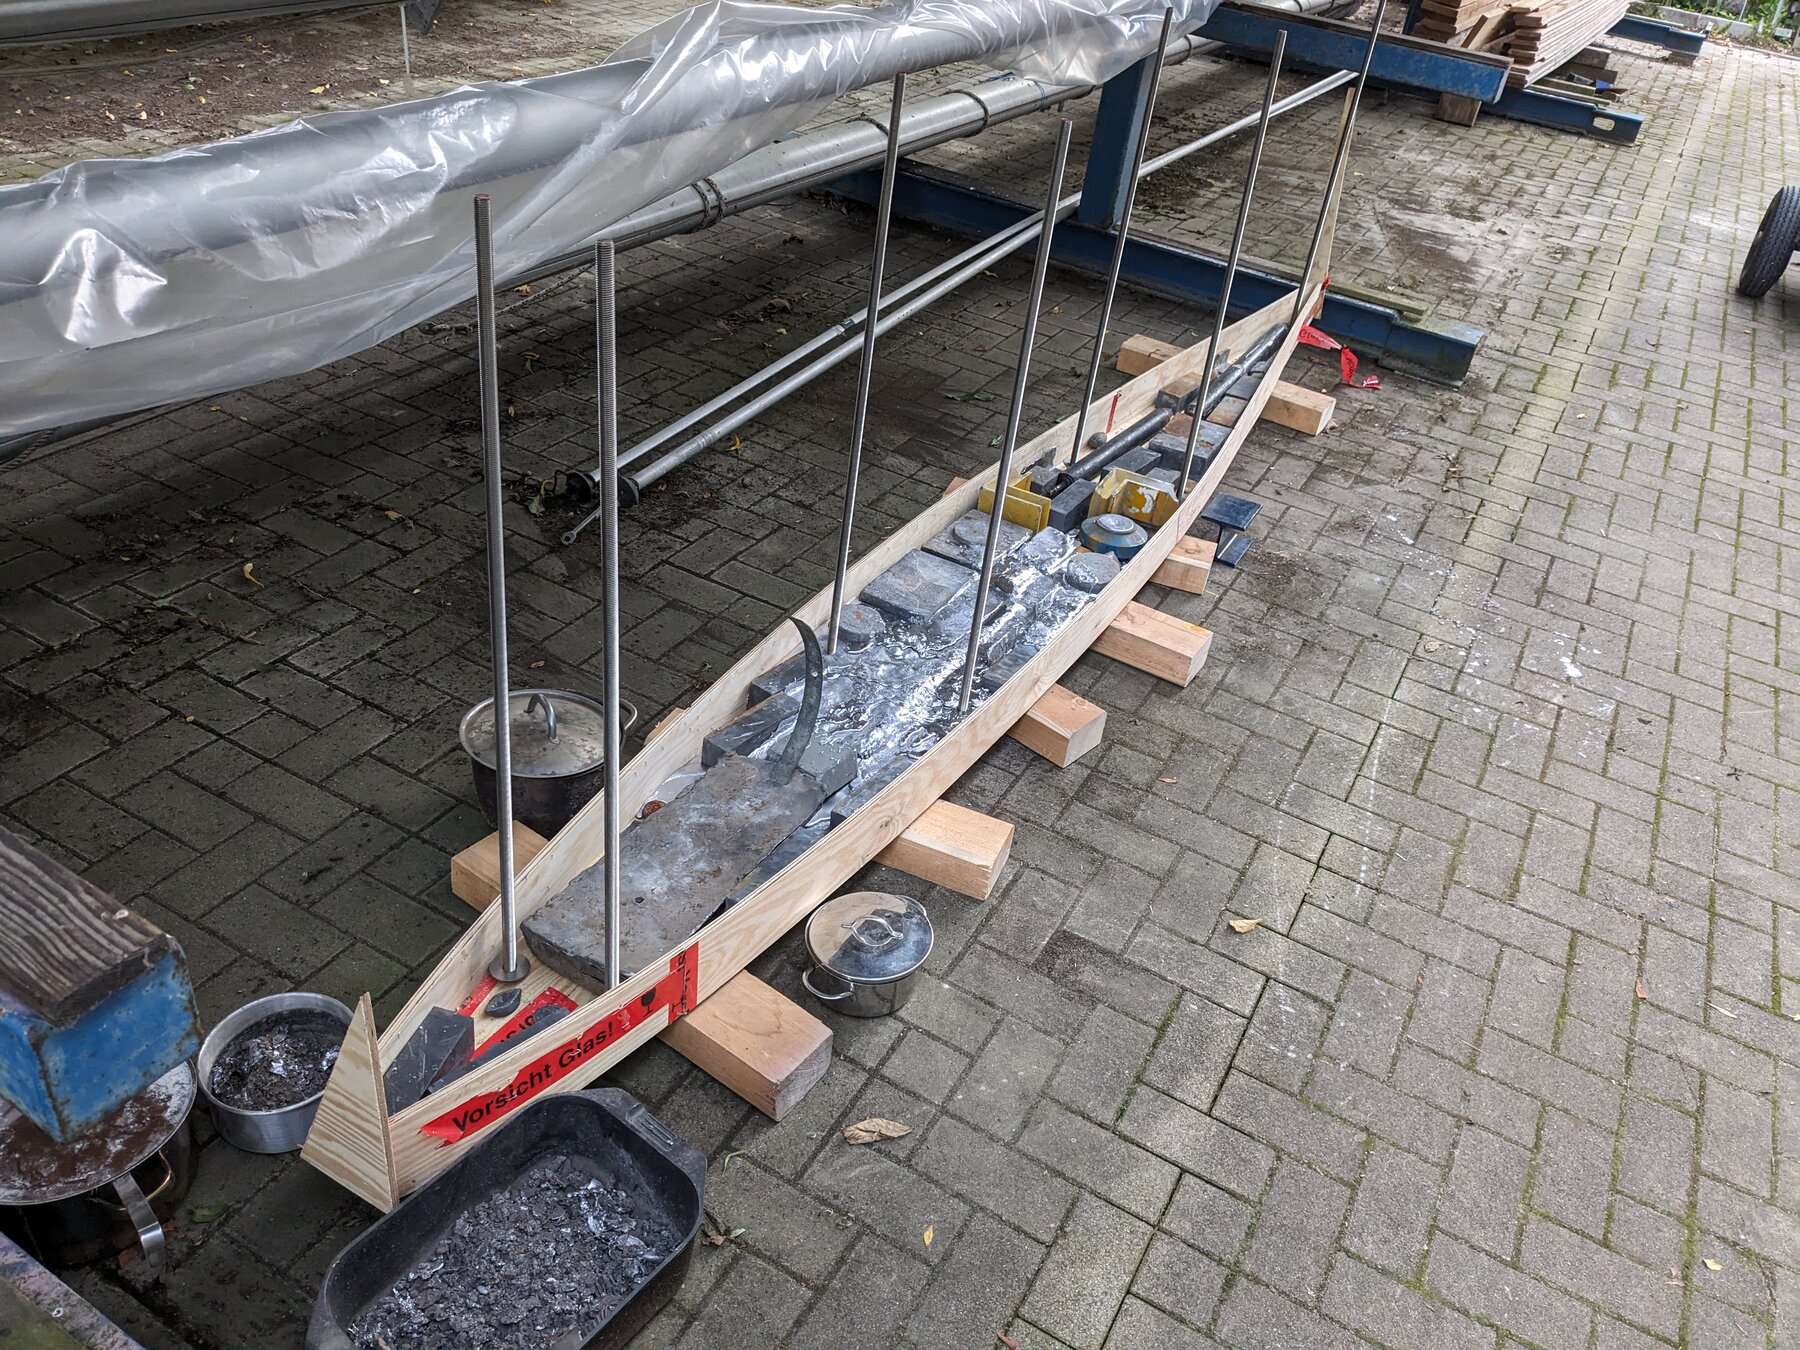
With the bottom of the mould I built a new mould for pouring the lead with a height of 11cm.
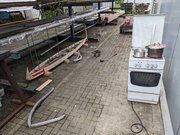
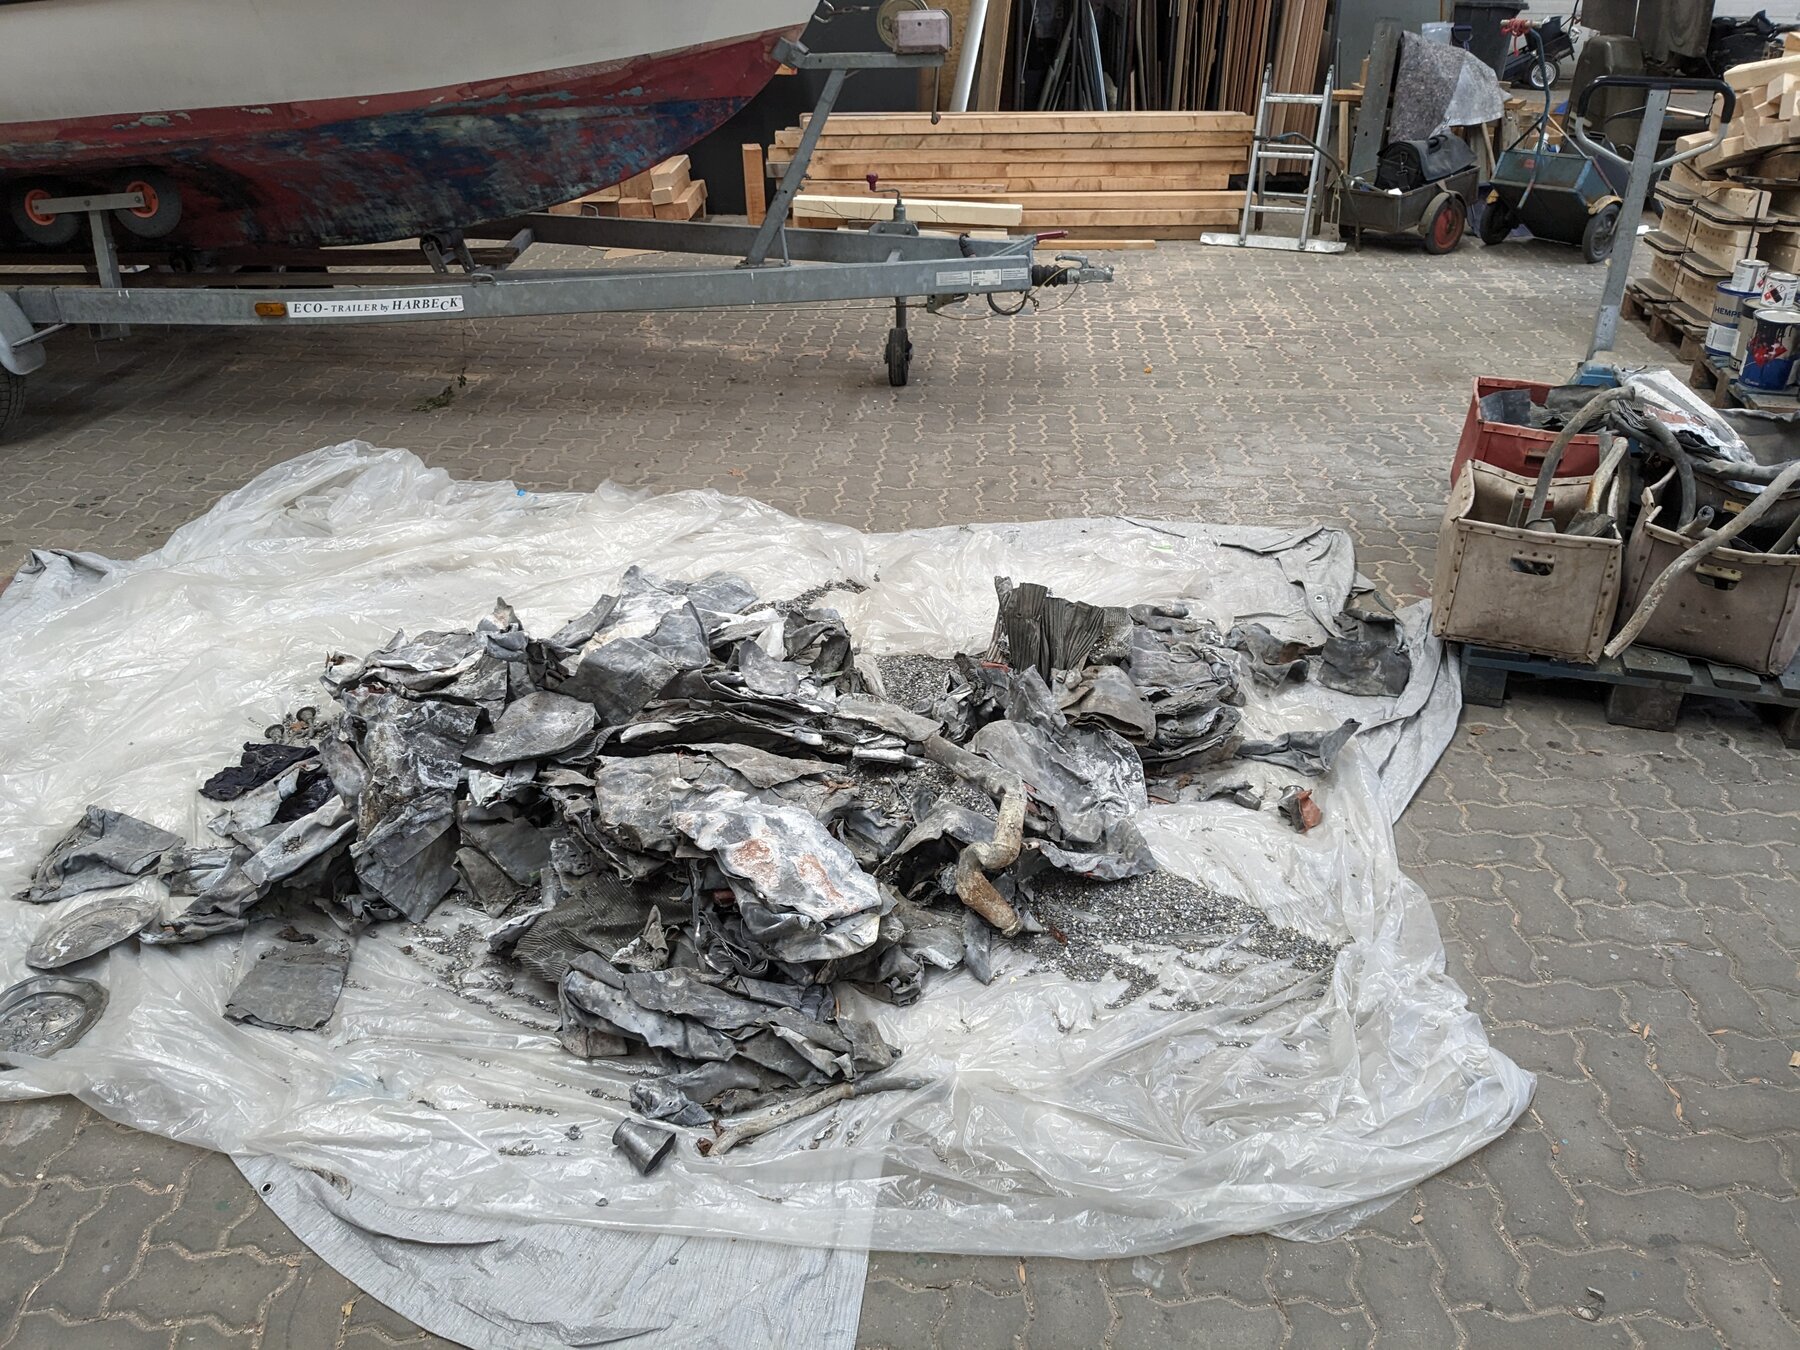
I still hadn’t all the 1.2t lead. A friend of a friend of a friend has a scrap yard business. I’ve got 2 friends with this sort of connection, so 2 small scrap yards collected lead for me over several months.
I got around 500kg in solid bigger pieces and 700kg rolled roof lead, pipes and a big amount of dirt and small stuff.

I attached the bolts and stacked the bigger parts in the mould.

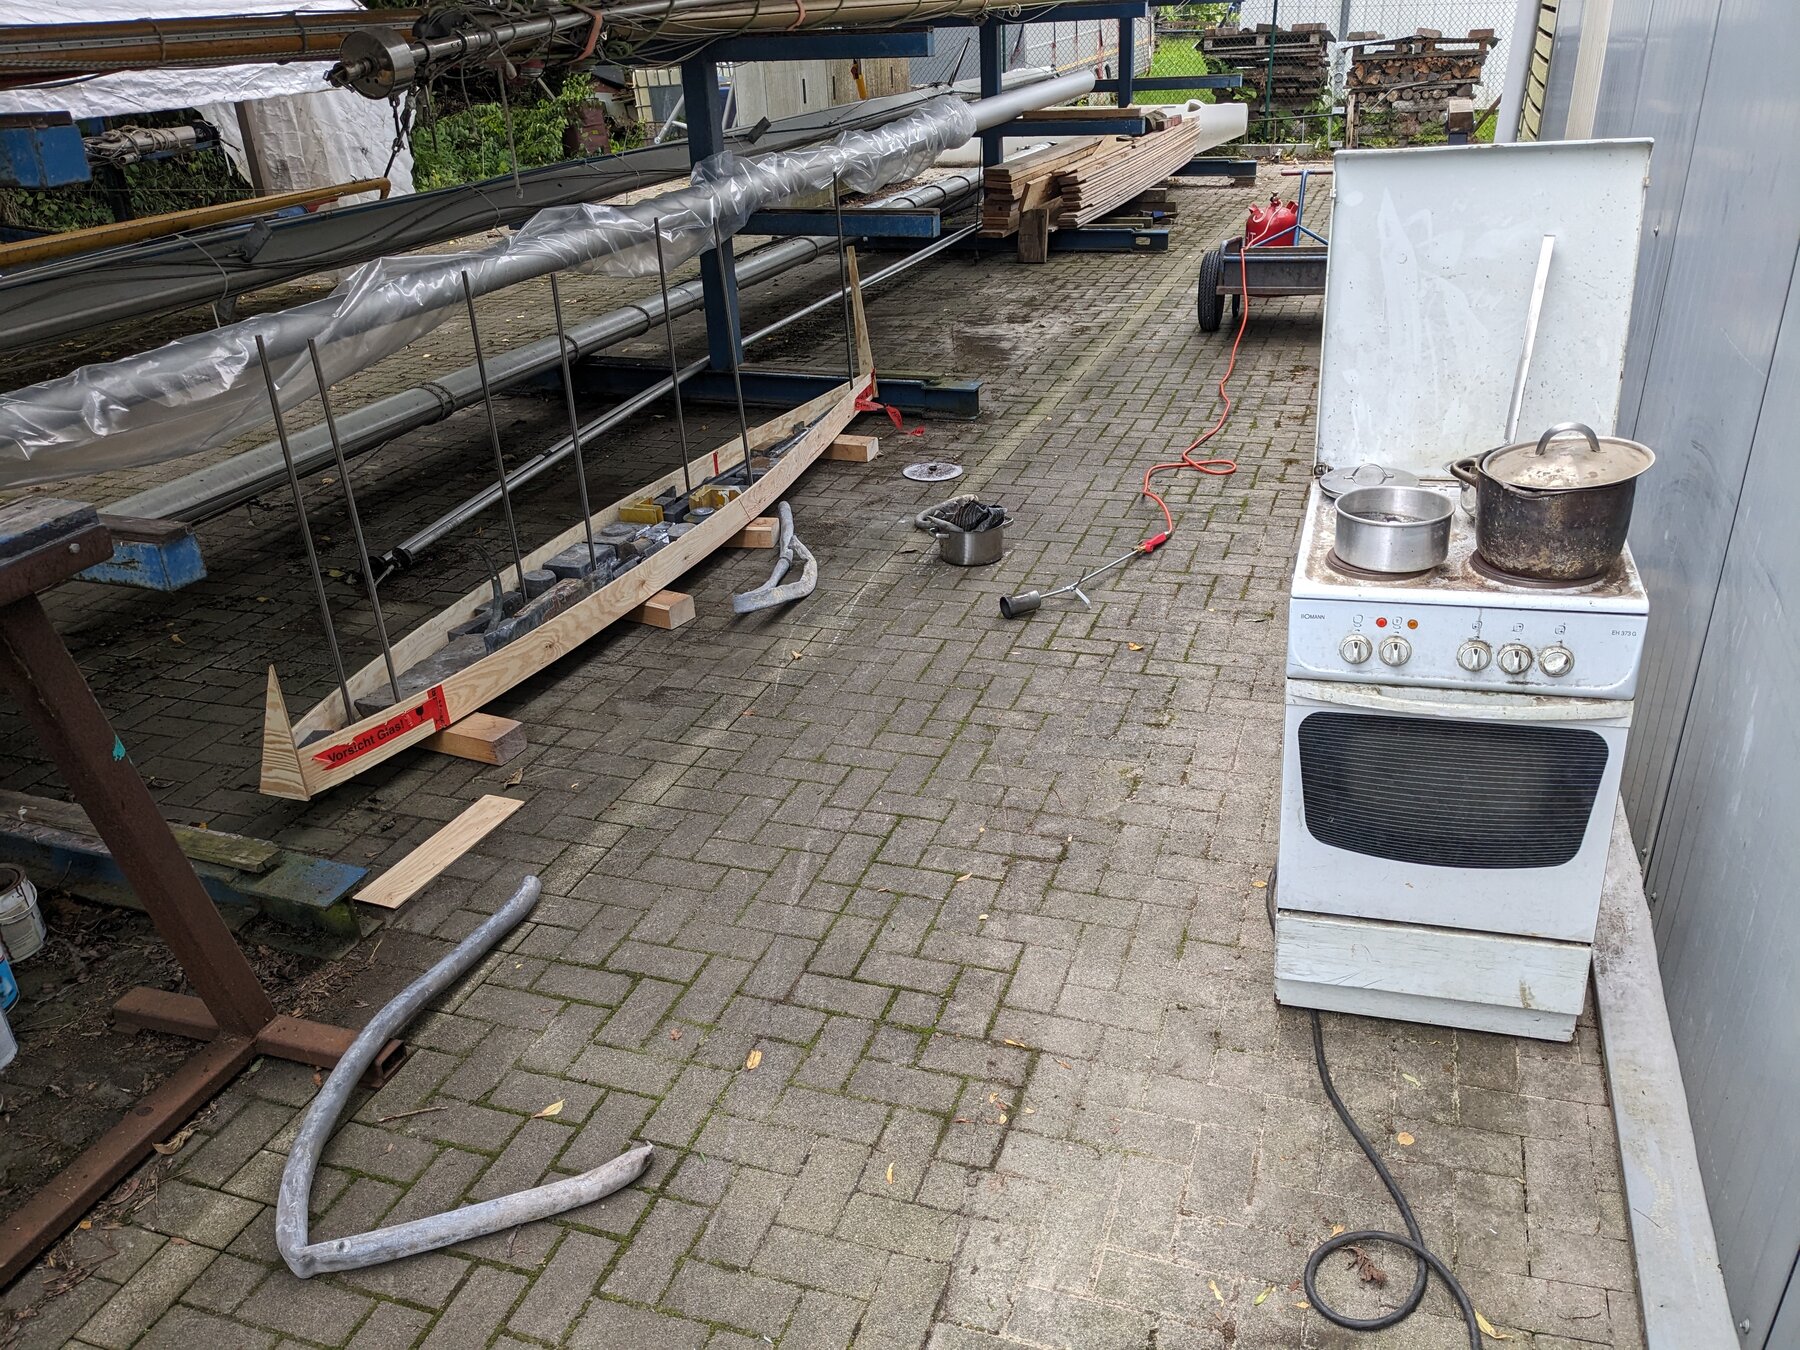
It was obvious that the lead wouldn’t bond properly, but I was confident that it won’t had to. So I began to melt and poor the lead.

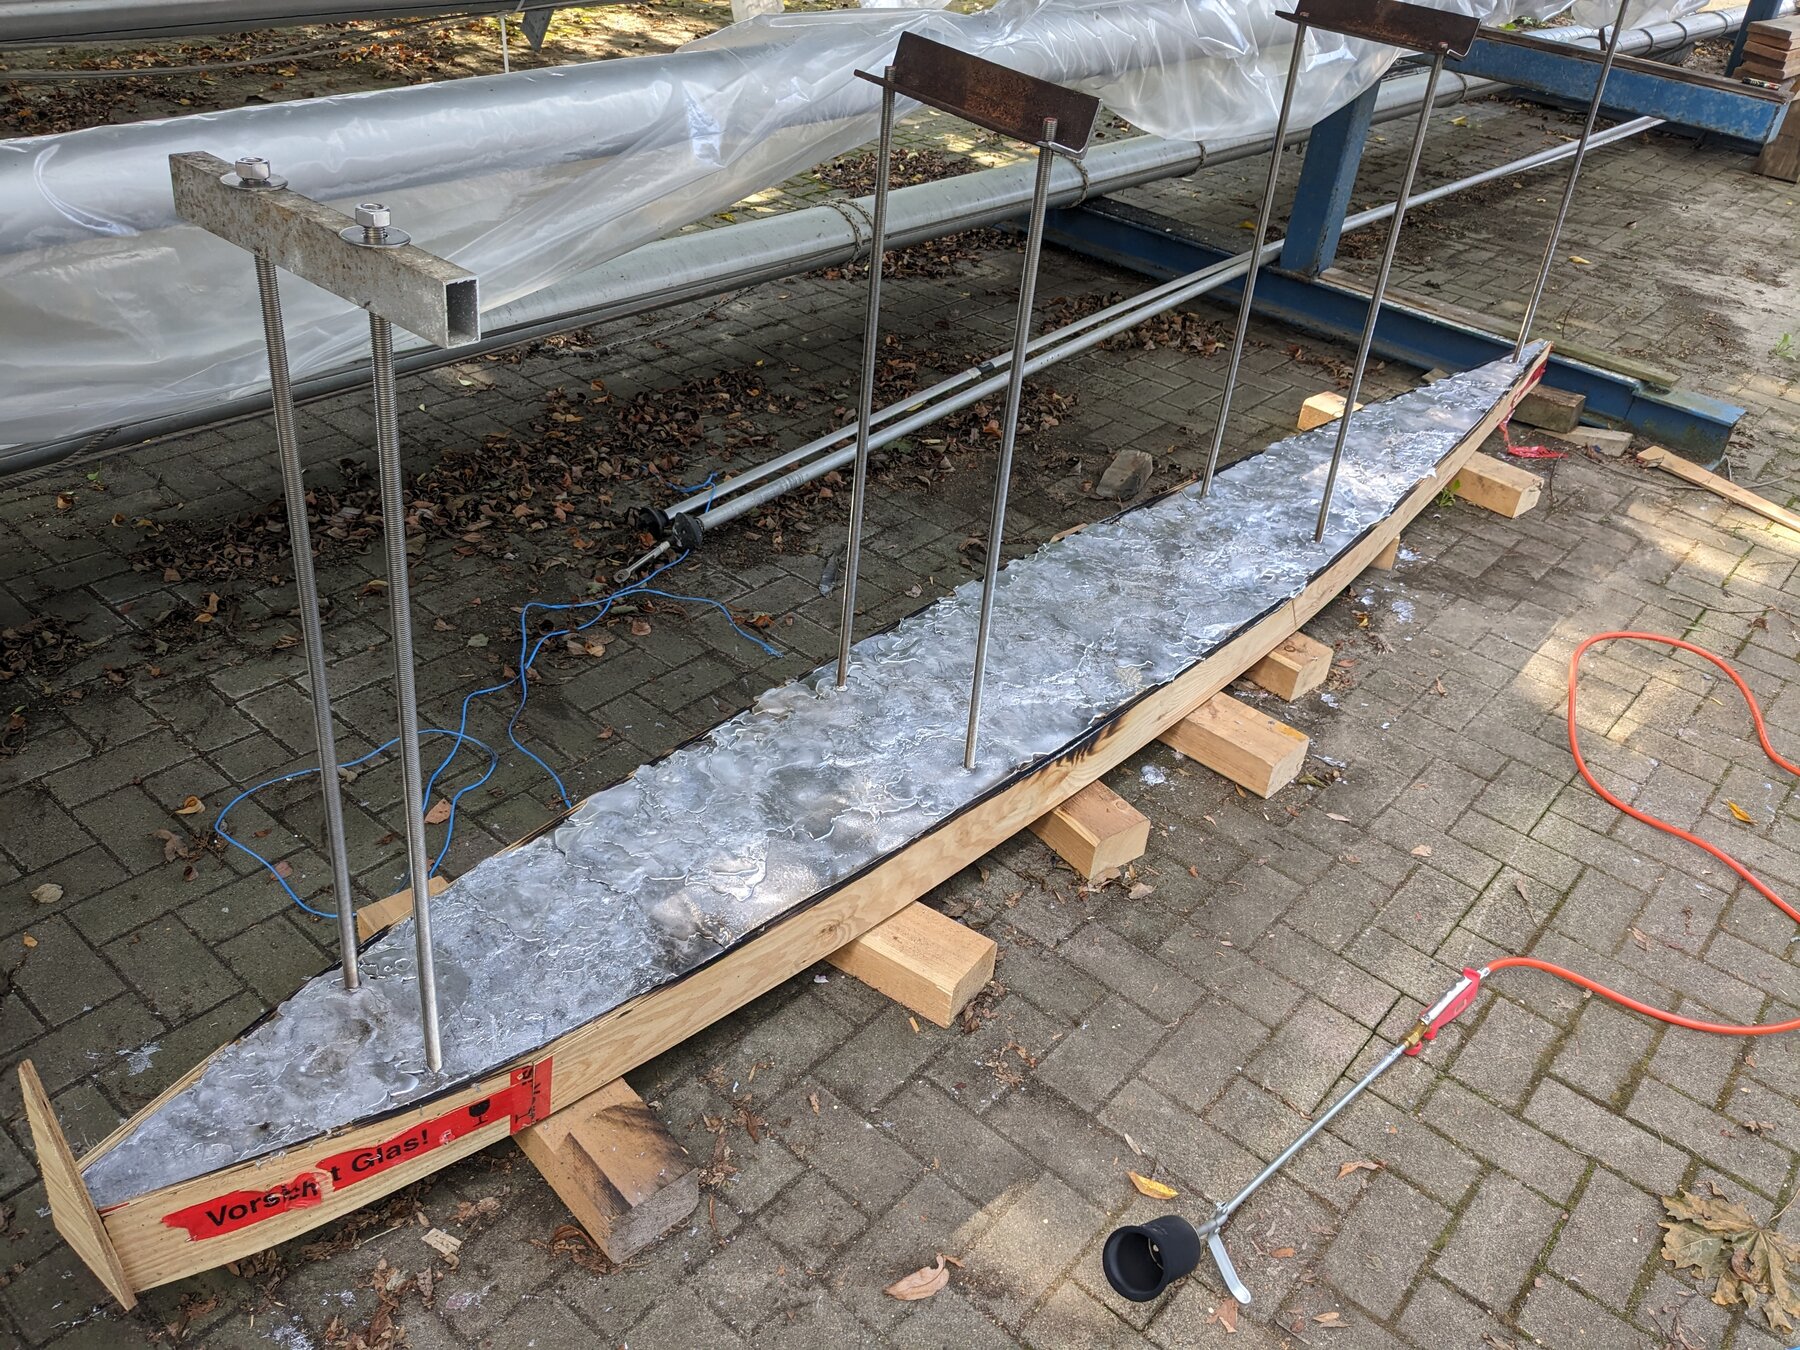
Melting and pouring the lead was easier then I thought. At least when it was pure lead in smaller pieces. Melting the pipes, the rolled lead and the scrap was really unpleasant and I got more and more annoyed about it. There was too much slag, it took to long, it produced black and very poisonous smoke (I assume without proof) and fire in several colours. So I sold around 250kg of it again with a slight loss of money and tried to find the cheapest lead bars online. The cheapest I found were sold by private sellers on a German Craigslist equivalent. I don’t know how they produced the nice pure and relatively cheap bars. Some secrets should stay unrevealed …
Anyhow, melting and pouring the bars was nice and easy.
Overall I paid ~2500€ with shipping for ~ 1.2t lead, which is OK. One must add something like 100€ for electricity and propane and 50-100€ for safety gear. If my calculations are right, to melt 1.2t lead 21kWh would be needed in theory. Having done this inefficiently with a stove in the backyard consumed a lot more for sure.
My advice if one would do it a similar way is to get lead bars. Saving a few 100€ with old battery parts and water pipes isn’t worth the effort.
I moved the lead with a forklift inside and it didn’t broke apart.
The bolts were still aligned almost right and the lead fitted very good inside the GRP mould.

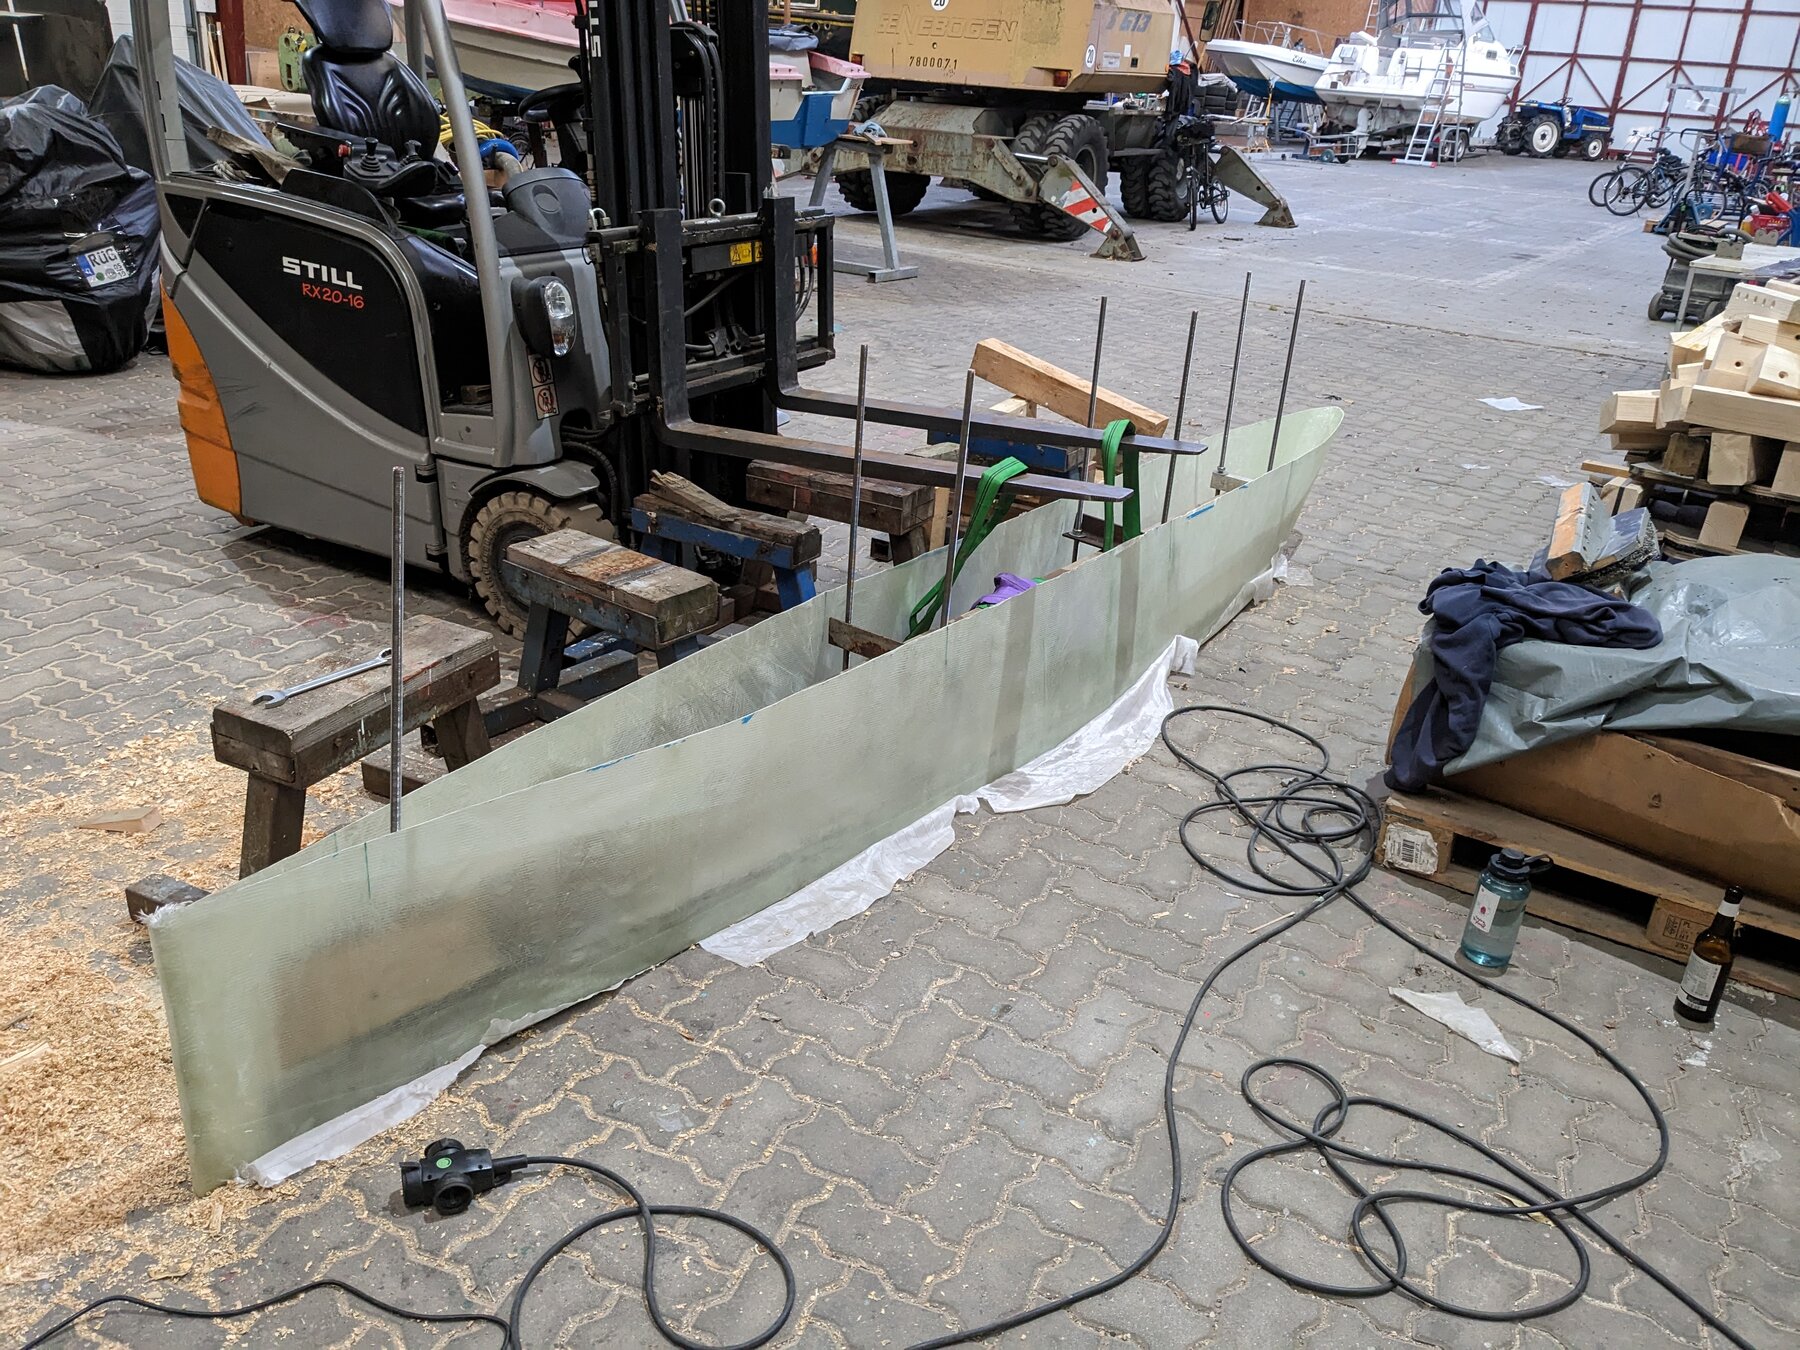
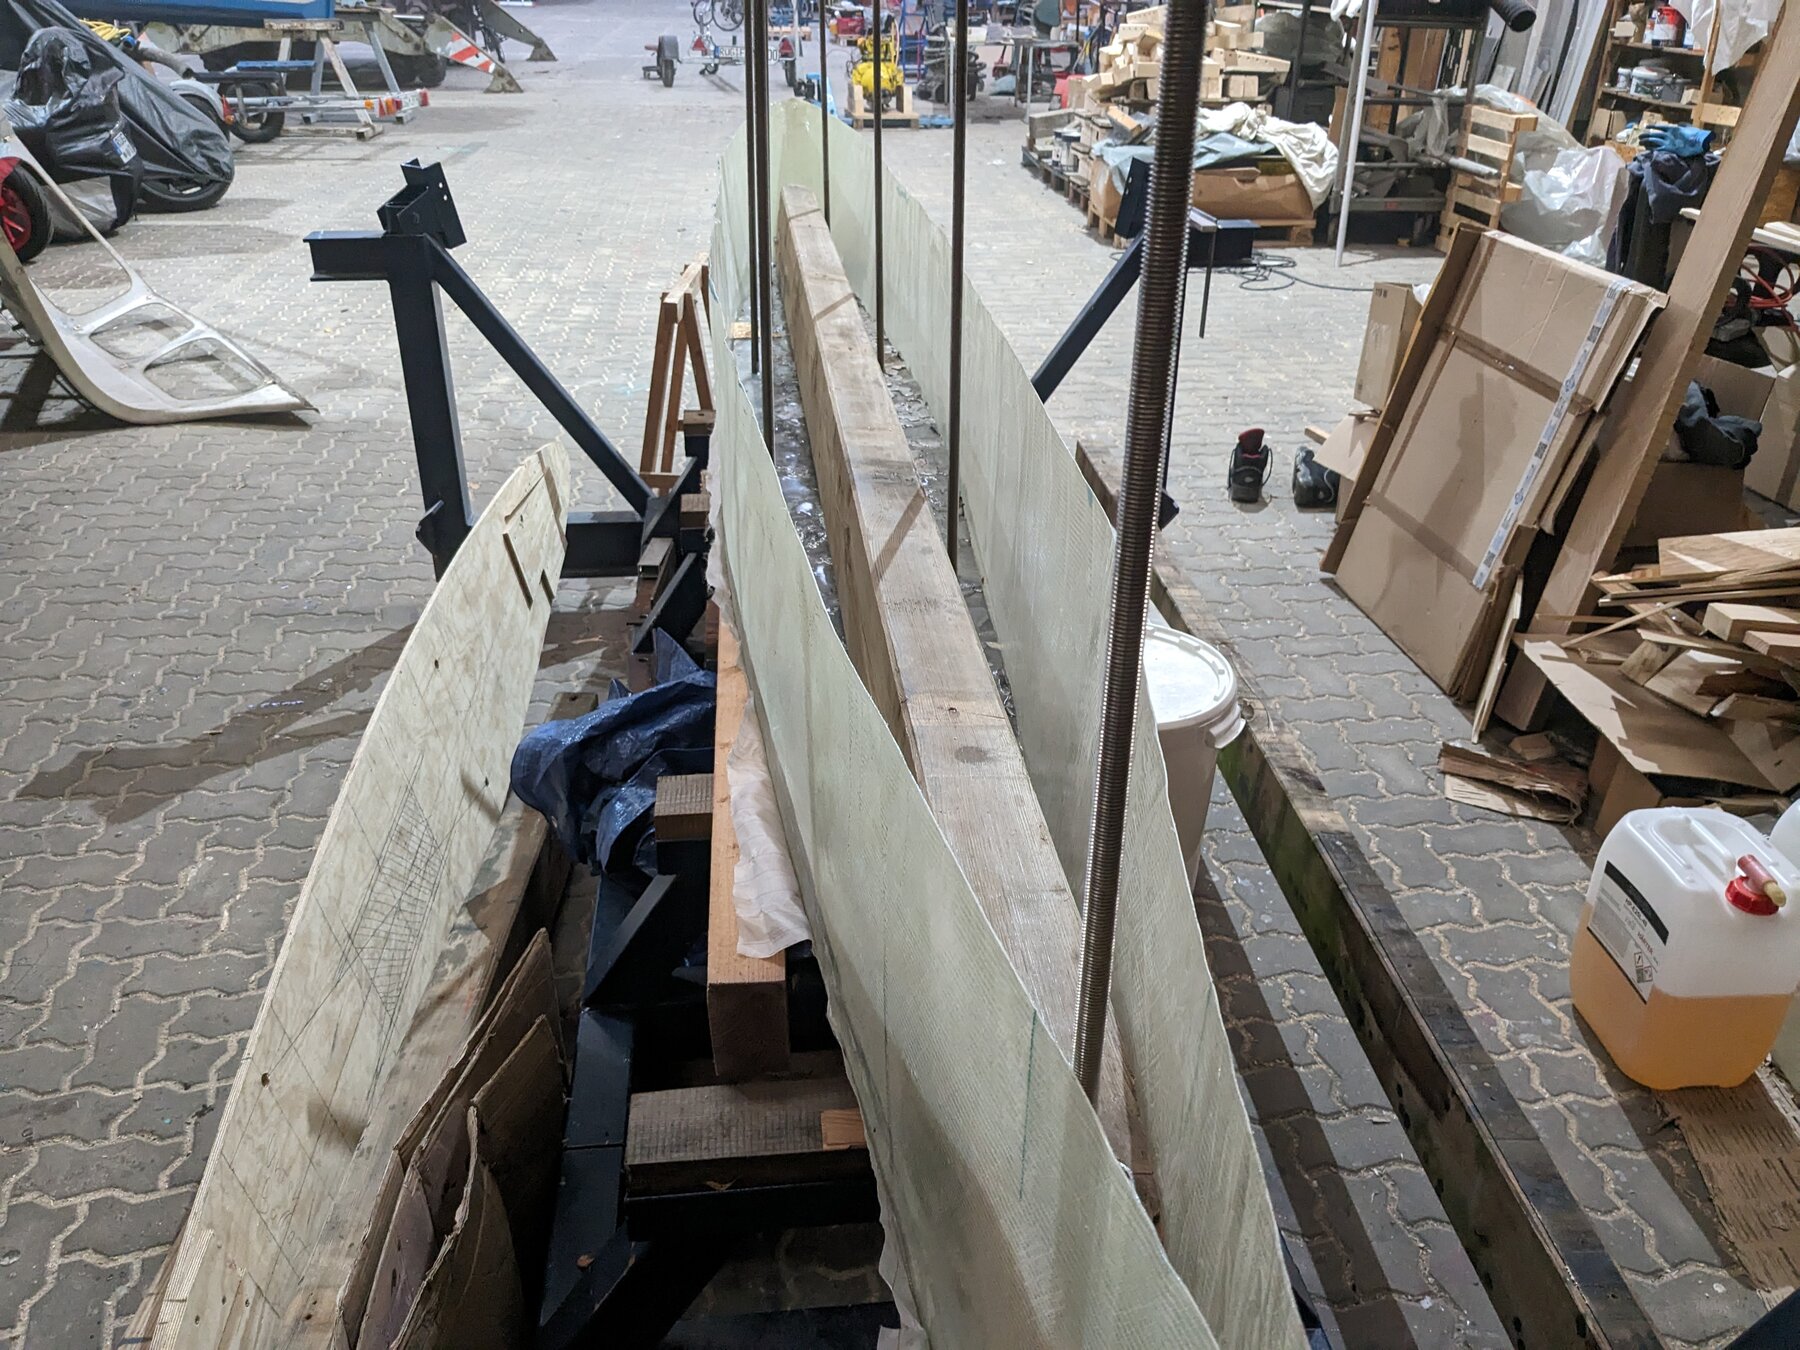
At this point I was really relieved and what was left was “only” to fill the keel with wood and epoxy. I used about 50-100kg epoxy. So overall the keel cost me not much more then 4300€.
Here is the keel in front of the boat almost filled up with wood:
I also contacted a befriended welding company for a quote for building me a steel keel the way Annie had it done. They send me a quote over 6400€ and I would still have needed wood and epoxy for the dead wood. Cutting and welding 50mm steel by myself would technically also be possible and a lot cheaper. But it would be also a lot of work. Welding 3 plates with 4m on each side adds up to 16m weld. I’m no expert but I think it would need 1 root layer and 2 top layers. To weld and later grind 48m 50mm steel would have been an interesting experience. But I’m still happy with my decision :)
So overall with me having the time and resources building the keel by myself, this project was a success.
